
How To
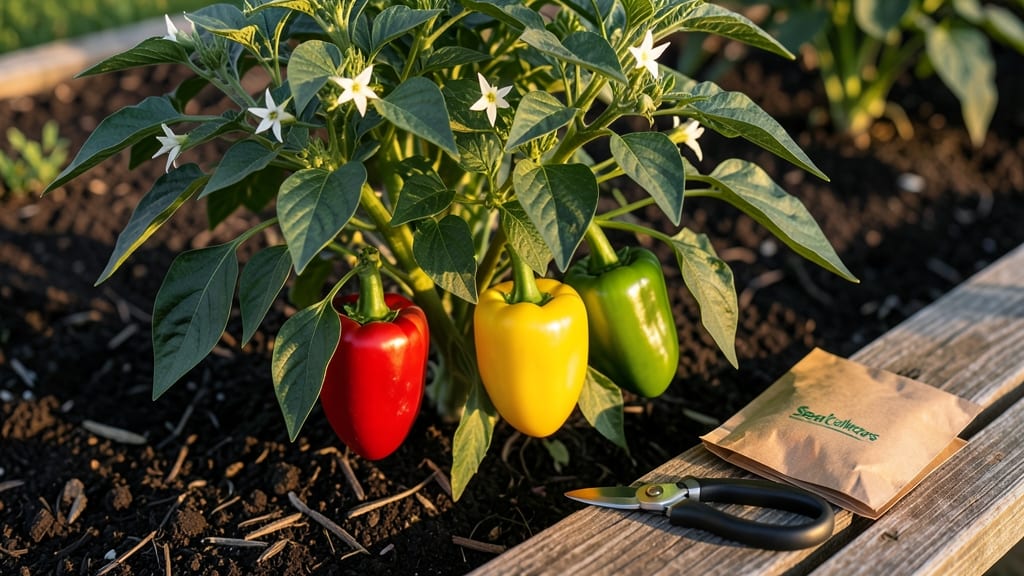
To harvest pepper seeds, let your 🌶️ peppers fully ripen on the plant before removing them—this ensures the seeds inside are mature and viable for next year’s garden.
Saving pepper seeds from your homegrown plants is a cost-effective way to ensure heirloom varieties thrive year after year—but timing and technique make all the difference.
If you’ve ever wondered why some seeds sprout while others fail, the answer lies in how you dry and store them. A few simple steps can boost germination rates and save you money on new plants.
Below, I’ll walk you through when to harvest, how to dry seeds properly, and the best storage methods to keep them ready for planting next spring.


When to harvest pepper seeds: identifying perfectly ripe peppers for seed saving
Timing is everything when saving pepper seeds—harvest too early, and your seeds won't germinate; wait too long, and they may shrivel or lose viability. The key is recognizing the perfect ripeness in your peppers, which varies by variety (hot vs. sweet) and environmental conditions.
For most heirloom peppers, this means waiting until they've reached their mature color and texture, signaling the seeds inside are ready for extraction.
Sweet peppers like bell peppers or jalapeños often turn deep red, yellow, or brown when ripe for seed saving, while hot varieties such as habaneros or cayennes may stay their signature color but become leathery to the touch.
The seed maturity is what truly matters—not just the pepper's appearance. Premature harvesting can leave seeds underdeveloped, while overripe peppers risk mold or poor germination.
Here’s how to spot perfectly ripe peppers for seed saving at a glance:
| Pepper Type | Ripeness Cues | Seed Condition | Harvest Time |
|---|---|---|---|
| Sweet Peppers (Bell, Banana) | Deep red/yellow/brown, leathery skin | Dark, dry seeds (no moisture) | Late summer/early fall |
| Hot Peppers (Jalapeño, Habanero) | Fully colored, wrinkled skin | Dark brown/black, firm seeds | Early fall (before frost) |
| Heirloom/Unusual Varieties | Unique mature color, soft texture | Fully developed, no green seeds | Varies by variety (check seed packet) |
For sweet peppers, watch for the skin to turn fully colored and feel slightly soft when gently squeezed—a sign the seeds inside have matured. Hot peppers, on the other hand, may stay their original color (like red or orange) but become wrinkled and leathery.
Twist the pepper gently at the stem; if it detaches easily, it’s ready. If it resists, wait another week.
Another critical cue is the seed appearance. Cut open a ripe pepper and inspect the seeds: they should be dark brown or black, dry to the touch, and free of any gel or moisture.
If seeds are still white or green, the pepper isn’t ripe enough. This step is non-negotiable—moist seeds won’t dry properly and will mold during storage.
Environmental factors also play a role. Peppers grown in cooler climates may take longer to ripen for seed saving, while those in hot, dry conditions might mature faster.
Pay attention to your local frost dates—if frost is imminent, harvest seed peppers early, even if they’re not fully ripe, and finish drying them indoors. A 1-2 week delay in harvesting can mean the difference between viable seeds and wasted effort.
One common mistake is assuming all peppers on a plant are ready at the same time. Harvest seed peppers individually as they ripen to avoid mixing underripe and overripe seeds. Label each variety with a pencil or tag to track ripeness stages and prevent cross-contamination.
For example, a habanero and a bell pepper from the same plant may ripen weeks apart.
Pro tip: Place a small fan nearby while peppers ripen to improve air circulation, which speeds up the drying process naturally. This mimics the dry, warm conditions peppers need to develop fully.
Avoid harvesting seed peppers after they’ve been exposed to frost, as cold temperatures can damage seeds internally, even if the pepper looks ripe.
Once you’ve identified the perfect pepper for seed saving, act quickly. Remove it from the plant, clean off any debris, and prepare for the next steps: seed extraction and drying. The sooner you process the seeds, the higher your chances of 80%+ germination rates next season.
Don’t let ripe peppers sit on the vine too long—they’ll overripen and lose viability faster than you think.
🌶️
Step-by-Step method for extracting and drying pepper seeds at home
Once you’ve selected your perfectly ripe peppers for seed saving, the next critical step is proper extraction and drying. This process ensures high germination rates (above 80%) and prevents mold or spoilage.
The key? A simple fermentation step that removes the gel surrounding seeds—naturally!—while drying them correctly to lock in viability for years.
I’ve saved seeds from jalapeños, bell peppers, and habaneros for years, and this method works like magic. The fermentation step might seem counterintuitive, but it’s what removes the seed’s natural inhibitors, giving you healthier, more vigorous seedlings.
Let’s break it down into clear, actionable steps so you can replicate this at home without stress.
How to Extract and Dry Pepper Seeds
- 🌱 Step 1 Cut open ripe peppers and scoop out the seeds and gel into a clean bowl. Avoid mixing varieties to prevent cross-pollination in future generations.
- 🌱 Step 2 Add water to the bowl (just enough to cover the seeds) and stir well. Let the mixture ferment for 2-4 days at room temperature (68–75°F). This breaks down the gel and removes seed inhibitors.
- 🌱 Step 3 Stir daily during fermentation to prevent mold. You’ll know it’s ready when the gel separates from the seeds and the mixture smells slightly sour (like yogurt). Discard the liquid and rinse seeds gently with water.
- 🌱 Step 4 Spread seeds in a single layer on a paper towel or mesh screen. Place in a warm, dry, and well-ventilated area (like a sunny windowsill or fan-assisted drying rack) for 7–10 days.
- 🌱 Step 5 Check daily for dryness. Seeds are ready when they’re hard and dark (no moisture). Store in a paper envelope or airtight container with a silica gel packet to absorb humidity.
-
🌱 Step 6
Proper drying is non-negotiable—moisture is the enemy of seed longevity. I once rushed the process and ended up with moldy seeds that failed to germinate. Since then, I’ve made it a rule to wait until seeds are completely dry before storing.
A dehydrator set to 95°F works too if you’re short on sunny days.
For extra protection, store seeds in glass jars with oxygen absorbers. This extends their shelf life even further, especially for heirloom varieties you want to preserve. Just remember: label everything—next year’s garden will thank you!
🌿