
Tools
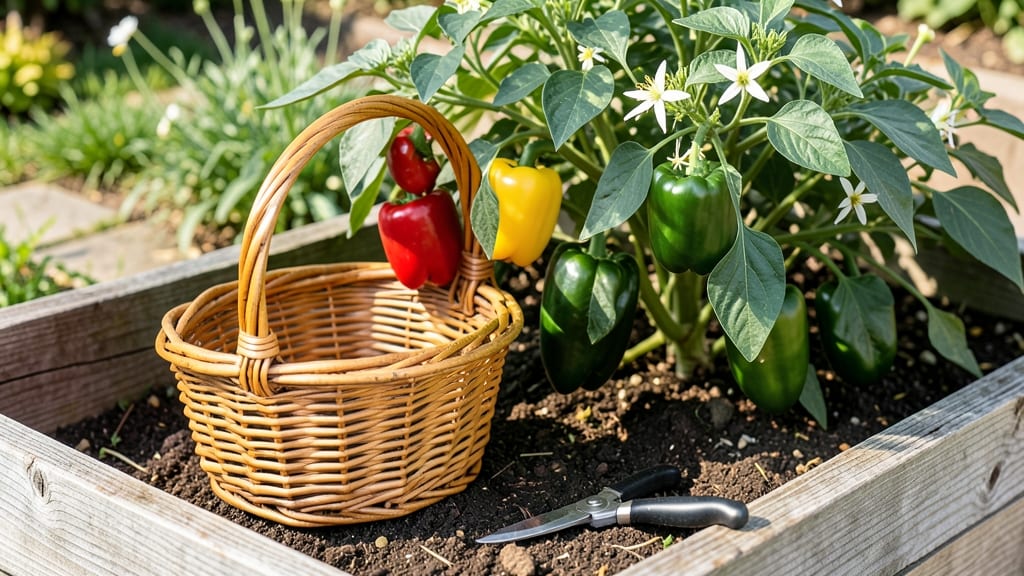
What to do with extra peppers from the garden when your plants have overwhelmed you with a pepper mountain? 🌶️ I turned my glut into everything from homemade hot sauce to stuffed pepper salsa—and you can too without turning your kitchen into a canning factory.
The key is matching the pepper type (mild, hot, fresh, or dried) to the right project so nothing goes to waste.
Start with the easiest wins: freeze whole peppers for later cooking, pickle extras in vinegar and spices, or dry them for homemade flakes. My favorite 5-minute fix is blending roasted peppers with olive oil for a quick jam that lasts months.
For hot peppers, make a small batch of hot sauce—it’s the perfect way to use up spicy varieties without overwhelming your meals.
Don’t forget to share the bounty! Neighbor swaps, community freezes, or even trading with local chefs can turn your overflow into someone else’s pantry staple. A well-stocked freezer and a few jars of pickled peppers mean you’ll have flavor all winter—no sad, rotting peppers in sight.
Pro tip: Label everything with the date and method (frozen, pickled, dried) so you remember what’s what when harvest season rolls around again. This system keeps your kitchen organized and your pantry stocked with homemade goodness.
📚 In This Guide
- What you need
- Instructions
- Tips and common mistakes
- Wrapping up and next steps
What you need
- ● Fresh peppers: Any variety (jalapeños, bell, habaneros, etc.)—aim for at least 5–10 lbs for batch projects like sauces or pickling.
- ● Cutting board: Large enough for whole peppers (12"x18" recommended).
- ● Sharp chef’s knife: 8–10" blade for clean slicing/dicing.
- ● Mixing bowls: 2–3 medium/large bowls (stainless steel or glass).
- ● Measuring cups/spoons: For precise recipes (e.g., pepper flakes, hot sauce).
- ● Colander: Stainless steel, 8–10" diameter, for rinsing.
- ● Food processor/blender: High-speed (e.g., Vitamix) for smooth sauces or purees.
- ● Canning jars: Quart or pint-sized (mason jars with lids for pickling/fermenting). Pro tip: Sterilize jars in boiling water for 10 mins!
- ● Air-tight containers: For freezing (ziplock bags or vacuum-sealed bags).
- ● Thermometer: Candy or instant-read (for hot sauces, <140°F is key!).
- ● Food dehydrator: For pepper flakes or dried strips (set to 135°F).
- ● Mortar & pestle: For crushing pepper seeds or making chile powder from scratch.
- ● Smoker/grill: For smoked pepper pastes or charred peppers.
- ● Vinegar (white/distilled): For pickling brines (1:3 vinegar-to-water ratio).
- ● Salt (kosher/pickling salt): 1–2 lbs for curing or fermenting.
- ● Citric acid: Preservative for canning (½ tsp per quart).
- ● Labels & markers: To track dates/recipes (e.g., "Habanero Hot Sauce – 10/2023").
- ● Glove/hand protection: For spicy peppers (wear nitrile gloves if handling habaneros!).
Creative ways to preserve and use your pepper harvest
Don't let your garden's bounty go to waste—here's how to transform extra peppers into delicious staples.
🌱 Step 1: Choose Your Preservation Method
First, decide how you want to store your peppers. Freezing is easiest for raw peppers—simply wash, dry, and blanch them in boiling water for 3 minutes before shocking in ice water. You'll see the skins turn slightly darker as they cool, signaling they're ready for freezing. Store in airtight bags or containers for up to 12 months.
Drying works best for peppers like jalapeños or poblano. Slice them ¼-inch thick and place on a dehydrator tray. Run the dehydrator at 135°F for 4-6 hours until completely dry and brittle. Store in jars away from light—they'll keep for 6-12 months. For oven drying, bake at 200°F for 2-3 hours on a wire rack.
💧 Step 2: Ferment or Pickle Your Peppers
Fermenting peppers is simple and adds probiotics to your diet. Pack clean peppers into a jar, leaving 1-inch headspace. Pour a brine of 2% salt by weight (about 2 tablespoons per quart of water) until peppers are fully submerged. Place a fermentation weight on top to keep them under the brine. You'll see bubbles forming within 24 hours, indicating active fermentation.
For pickling, slice peppers thinly and pack them into sterilized jars. Heat a mix of 1 cup vinegar, 1 cup water, and 1 tablespoon sugar to boiling, then pour over the peppers. Seal while hot and let cool. These pickles will last 6-12 months in the pantry. Watch for any mold or foul smells—if you see either, discard the batch immediately.
☀️ Step 3: Make Pepper Powders or Pastes
For pepper powders, dry your peppers completely (either in a dehydrator or oven), then grind them into a fine powder using a spice grinder or blender. Store in an airtight container away from light. You'll need about 1 cup of dried peppers to yield roughly ½ cup of powder. This powder keeps for 1 year and adds heat and flavor to soups, stews, and marinades.
To make pepper paste, blend dried peppers with a little oil or vinegar until smooth. Simmer the mixture in a saucepan for 10-15 minutes to thicken it. Pour into sterilized jars and seal. This paste will last 6-8 months in the fridge or 12 months if canned properly. Use it as a condiment, in dressings, or as a base for sauces.
✂️ Step 4: Create Homemade Pepper Products
Turn your extra peppers into hot sauce by blending them with vinegar, garlic, and spices. Strain the mixture through a fine-mesh sieve to remove seeds and skins, then bottle the sauce. Process in a water bath for 10 minutes to sterilize and extend shelf life. You'll see the sauce thicken slightly as it cools, signaling it's ready for storage.
For pepper jelly, cook down peppers with sugar, vinegar, and pectin until thickened. Pour into sterilized jars and process in a water bath for 10 minutes. This sweet-and-spicy spread keeps for 12 months and pairs well with meats or cheese. Always check for proper seal and discard any jars that don't seal tightly.
🪴 Step 5: Share or Donate Your Harvest
If you have more peppers than you can use, consider sharing them with neighbors, friends, or local food banks. Many people love fresh peppers but don't grow their own. You can also trade peppers for other homegrown goods or garden supplies. This is a great way to build community connections while reducing food waste.
For those who enjoy gardening, offer pepper seeds or slips to fellow gardeners. Collect seeds from fully ripe peppers, dry them completely, and store in a cool, dark place. Label each variety clearly so others know what to expect. This ensures your extra peppers continue to grow and thrive in other gardens.
Tips & tricks for preserving your pepper harvest
Here's what nobody tells you about turning your garden's pepper surplus into pantry staples—without the guesswork.
Blanching Precision: That 3-minute blanch for freezing peppers is critical—any longer and you'll start breaking down the cell walls, making them mushy when thawed. Use a timer and test one pepper at 2 minutes first to see if the skins just barely start to loosen. A quick ice bath after blanching stops the cooking process instantly, preserving texture and color.
Dehydrator vs Oven Drying: The 135°F dehydrator setting is ideal for even drying, but if you're using an oven, the 200°F temperature might seem high—it's not! Ovens circulate heat differently, so check your peppers at the lower end of the 2-3 hour range. Place a small piece of tape on one slice as a visual marker—when it peels away easily, you're done.
Fermentation Safety: The 24-hour bubble test is your best indicator of successful fermentation, but don't rely solely on time. If you don't see bubbles within 12 hours, your salt percentage might be off. Use a hydrometer if possible—fermenting peppers should reach about 1.005-1.010 specific gravity. And always keep peppers submerged to prevent mold growth.
Hot Sauce Thickening: When making hot sauce, that 10-minute water bath is non-negotiable for safety, but the thickening happens during cooling. For extra body, simmer your strained sauce with 1 teaspoon of cornstarch mixed with 1 tablespoon water for 2-3 minutes after canning. This creates a glossy finish that clings beautifully to wings or tacos.
Pro Tips for What To Do With Extra Peppers From The Garden
- Here's what nobody tells you about turning your garden's pepper surplus into pantry staples—without the guesswork.
- Blanching Precision: That 3-minute blanch for freezing peppers is critical—any longer and you'll start breaking down ...
- Dehydrator vs Oven Drying: The 135°F dehydrator setting is ideal for even drying, but if you're using an oven, the 20...
Frequently asked questions
Got extra peppers from your garden and wondering what to do next?
Here are answers to common questions to help you make the most of your harvest—without wasting a single pepper!
How long can I store fresh garden peppers before they spoil?
Most fresh peppers last 1–2 weeks in the fridge (whole or unwashed) or 3–5 days on the counter. For longer storage, ferment them (like pickles), freeze them raw or cooked, or dry them in a dehydrator or oven (up to 6 months). Pro tip: Remove stems and store in a paper bag to slow moisture loss!
Can I freeze peppers whole, or should I chop them first?
You can freeze peppers whole or chopped, but chopping first saves time for cooking later. Remove seeds/membranes if you dislike heat, then blanch (dip in boiling water for 2–3 minutes) before freezing. Store in airtight bags or containers for up to 1 year. Warning: Frozen peppers get mushy—best for soups, stews, or cooked dishes, not raw snacks.
What’s the easiest way to dry peppers for later use?
Drying peppers is simple! Slice them thinly (or leave whole for flakes) and use one of these methods:
- Oven method: Bake at 175°F (79°C) for 4–6 hours until crisp.
- Dehydrator: Set to 135°F (57°C) for 6–12 hours.
- Sun-drying: Hang in a warm, dry place (like a mesh bag) for 3–7 days.
My peppers are turning soft or moldy—what went wrong?
Soft or moldy peppers usually mean overcrowding, moisture, or poor airflow. Fix it by:
- Storing them stem-side down in a single layer.
- Avoiding plastic bags (use paper towels to absorb moisture).
- Checking for bruises or punctures (discard damaged ones).
- Fermenting or pickling within 3–5 days if they’re still firm but wilting.
Can I regrow peppers from seeds saved from my garden harvest?
Yes! Save seeds from open-pollinated or heirloom varieties (avoid hybrids like Jalapeños or Bell Peppers). Let peppers fully ripen on the plant, then scoop out seeds, rinse, and dry on a paper towel for 3–5 days. Store in a cool, dark place for up to 2 years. Note: Seed viability drops over time—test a few before planting!
Wrapping up and next steps
Your garden’s pepper bounty doesn’t have to go to waste—there’s a world of flavor, health, and creativity waiting for you!
From fiery hot sauces to zesty pickles, homemade pepper flakes, or even unexpected gifts, these versatile veggies can spark joy in countless ways. Start small: pick one idea that excites you, gather your tools, and turn those extra peppers into something extraordinary. Your kitchen—and taste buds—will thank you! 🌶️✨
Next Steps:
- Pick one recipe from this list to try this weekend.
- Share your pepper creations with friends—they’ll love the thought (and the flavor)!
- Save seeds for next year’s garden—sustainability starts at home.